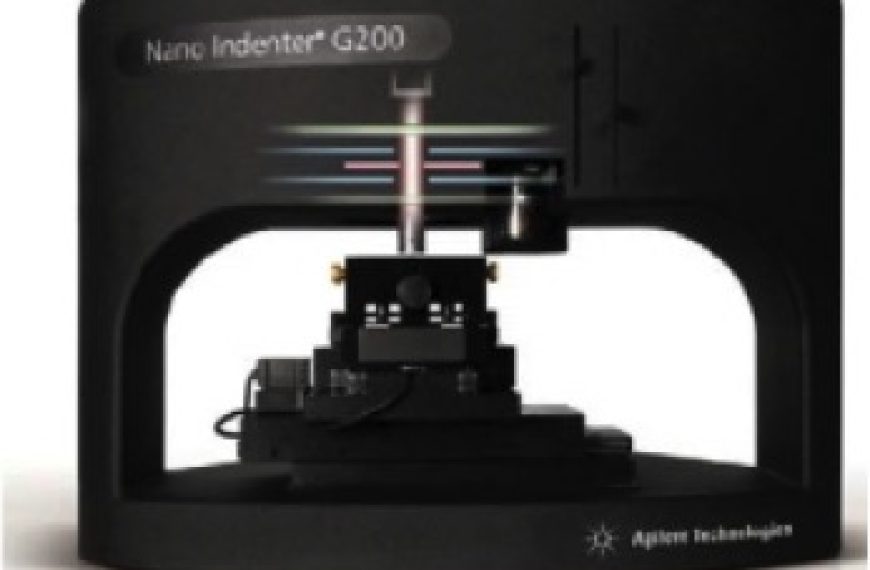
Description
Various methods, such as Continuous Measurement Stiffness, as well as different shapes and sizes of the indenter tips, can provide information on the mechanical properties of the material of interest.
Uses / Applications
The small volume required for the tests, as well as the automation of the device, makes it a great tool for gathering statistical data on mechanical properties of the surface of the materials. Hardness, elastic modulus, yield stress and true stress vs true strain behaviour can be obtained for bulk materials, and even for thin films.

Specification
Stage: Usable surface area 100mm x 100mm, Automated position control remote with mouse, Positioning accuracy 1µm.
Nano Vision Stage: Used for contact atomic force microscopy, X-Y scan range 100µm x 100µm, Positioning accuracy 1nm.
XP indentation head: Displacement measurement via capacitance gauge, Displacement resolution <0.01nm, Loading capability: 500mN or 10N in high load, Contact force <1.0µN, Load frame stiffness ~5MN/m.


